
Portal Setup
The InsightsHub Portal lets you give external users — anyone on your authorized email domains — access to your organization's QuestionPro AI chat, files, surveys, and snapshots through a branded, login-protected portal page.
Portal users sign in with their corporate email through Single Sign-On. Google and Microsoft are available as Single Sign-On options out of the box. You can also configure any additional OAuth 2.0 provider (such as Okta, Auth0, or your own identity provider).Anyone who:
- Has the portal link.
- Successfully signs in via Single Sign-On (Google, Microsoft, or a configured custom OAuth provider).
- Signs in with an email address whose domain is listed under Authorized email domains.
Once signed in, portal users can:
- Use QuestionPro AI across all data in your organization.
- Access referenced files and surveys directly from the AI chat.
- View snapshots that have been shared in the portal.
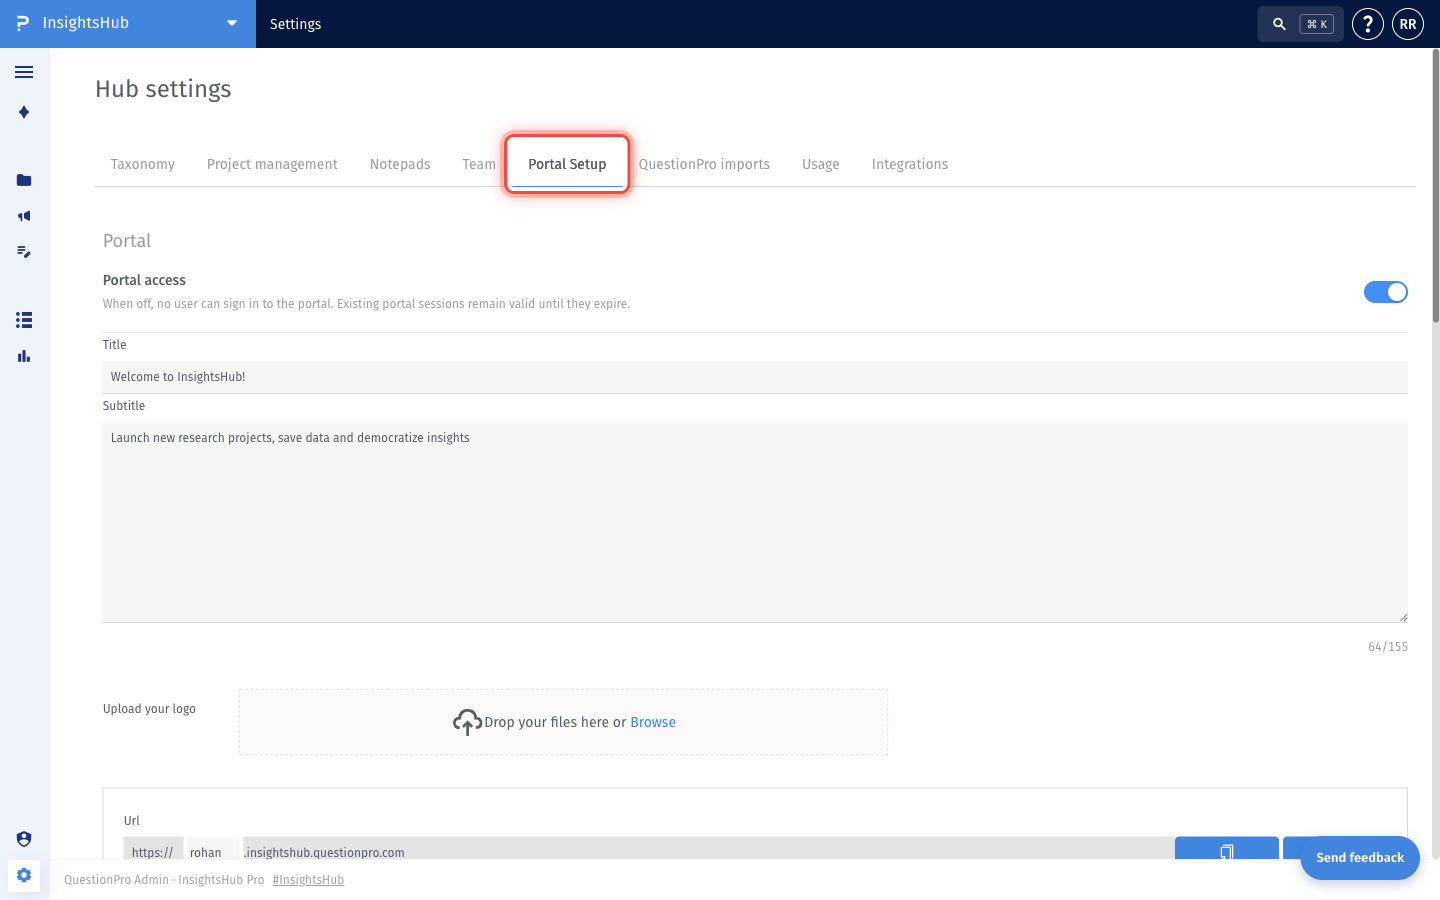
- Go to: Login » InsightsHub » Settings » Portal Setup.
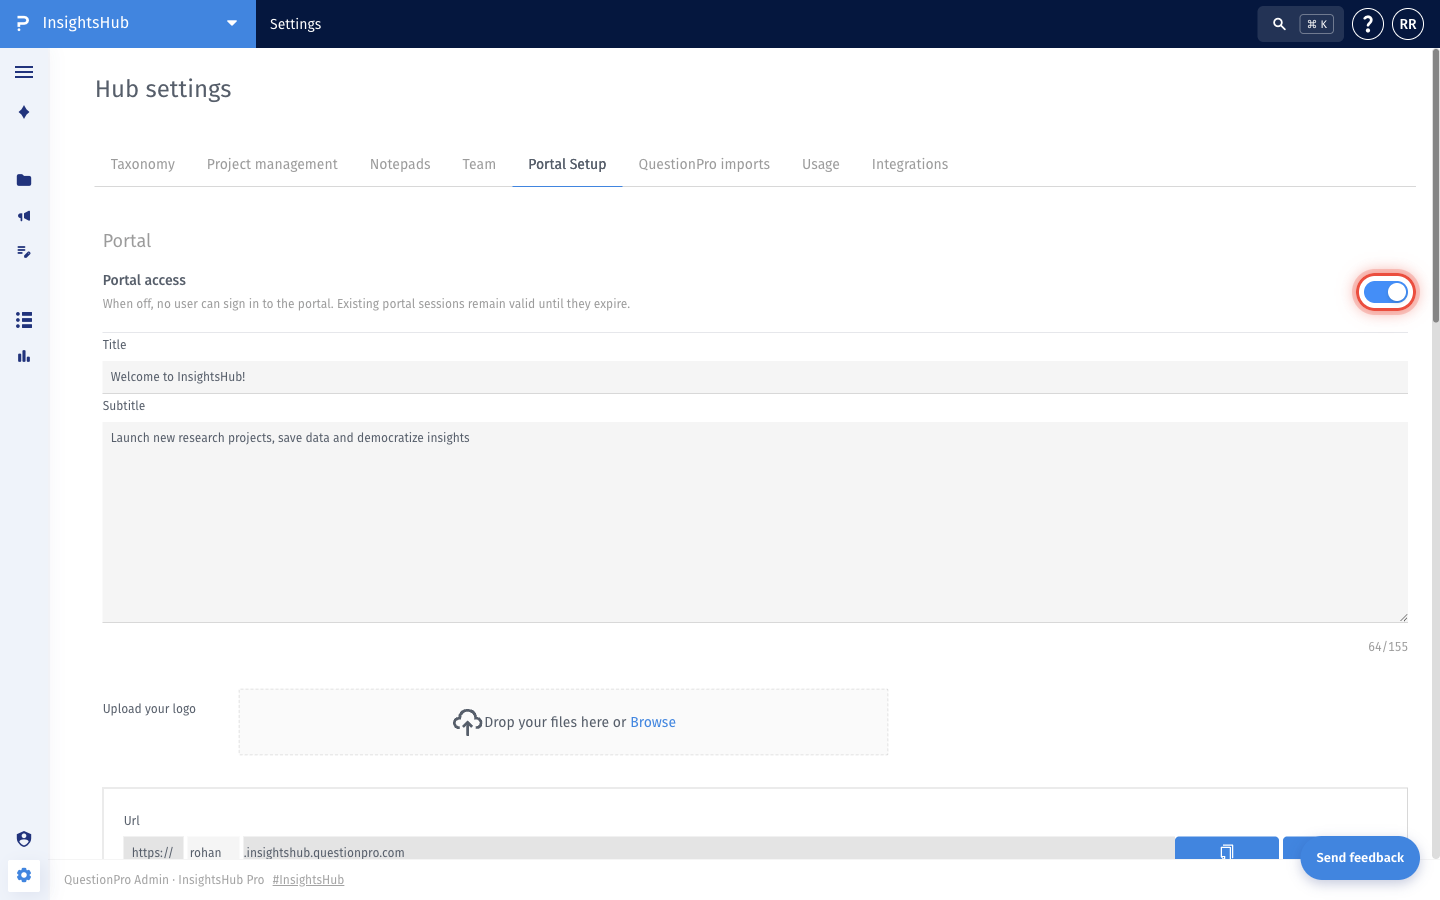
- Toggle Portal access ON to allow users to sign in to the portal. When this toggle is OFF, no user can sign in. Existing portal sessions remain valid until they expire.
- Configure your portal branding:
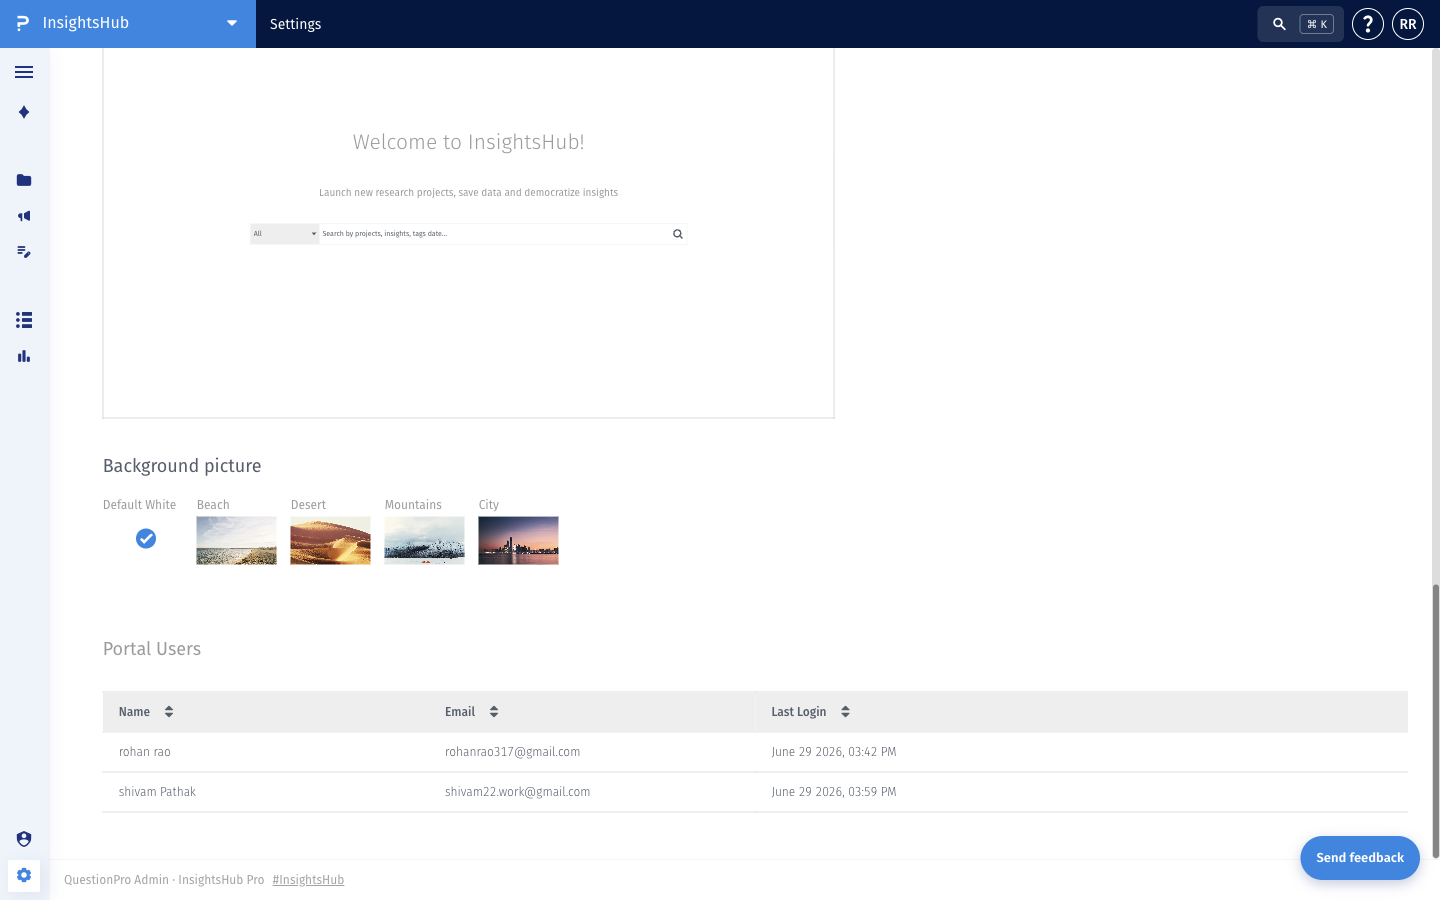
- Title — the welcome heading shown on the portal login screen.
- Subtitle — a short description shown below the title (up to 155 characters).
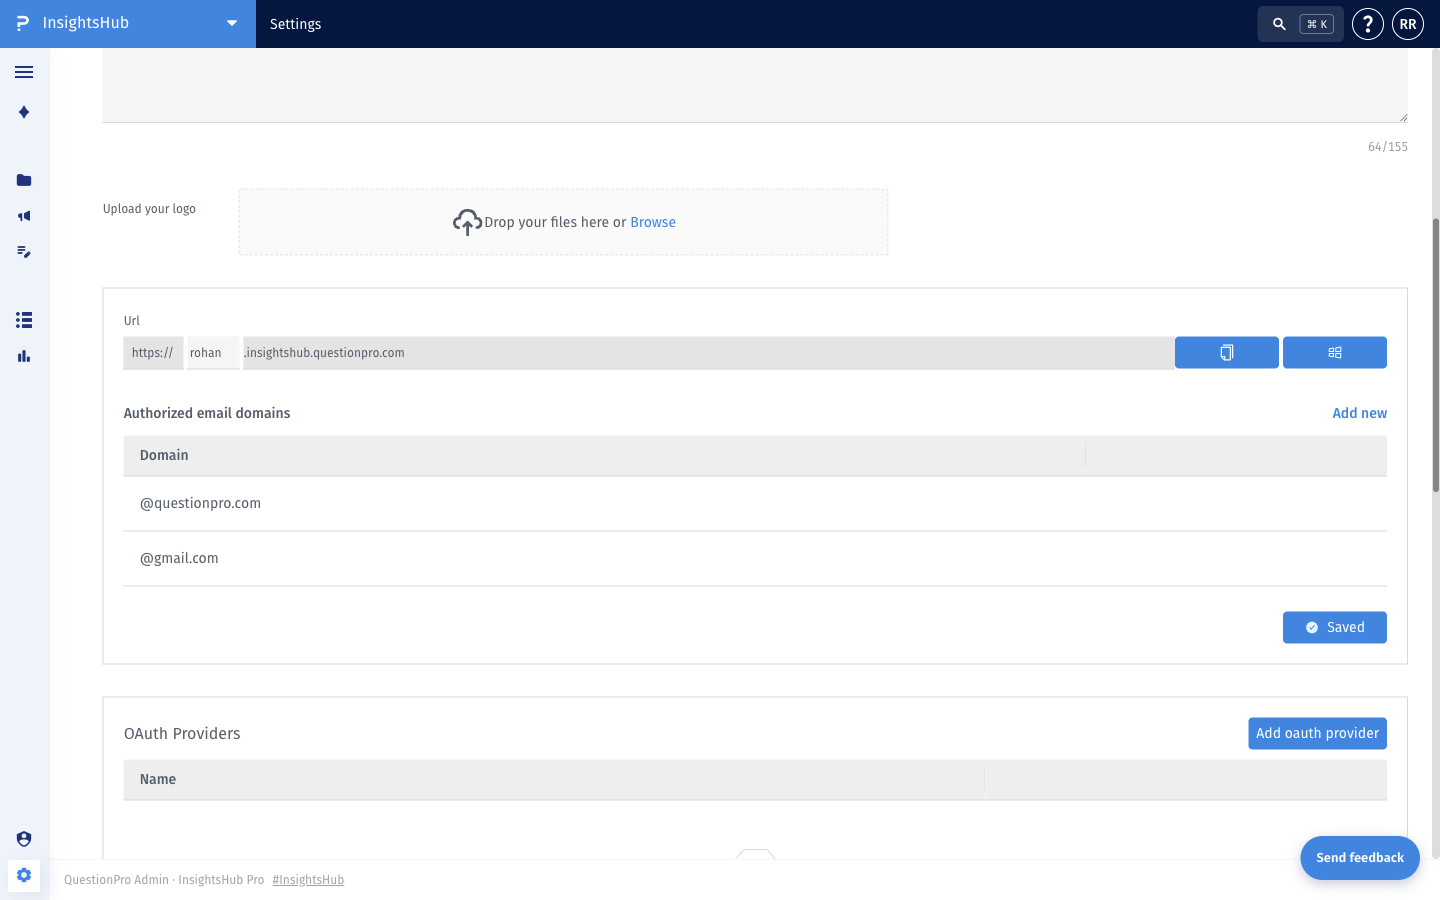
- Upload your logo — drag and drop your organization's logo, or click Browse to select a file.
- Set the portal URL. The subdomain (the portion before .insightshub.questionpro.com) is editable — choose a subdomain that represents your organization. Use the copy button next to the URL to share the portal link with your users.
- Add the email domains allowed to sign in under Authorized email domains. Click Add new to add a domain (for example, @yourcompany.com). Only users whose email belongs to one of these domains will be granted access after Single Sign-On.
Google and Microsoft are provided as default Single Sign-On options. Portal users will see the Google and Microsoft buttons on the portal login screen automatically — no setup is required for these providers.

In addition to Google and Microsoft, you can configure any OAuth 2.0 provider (such as Okta, Auth0, Azure AD, or your own identity provider) as an additional Single Sign-On option for the portal.
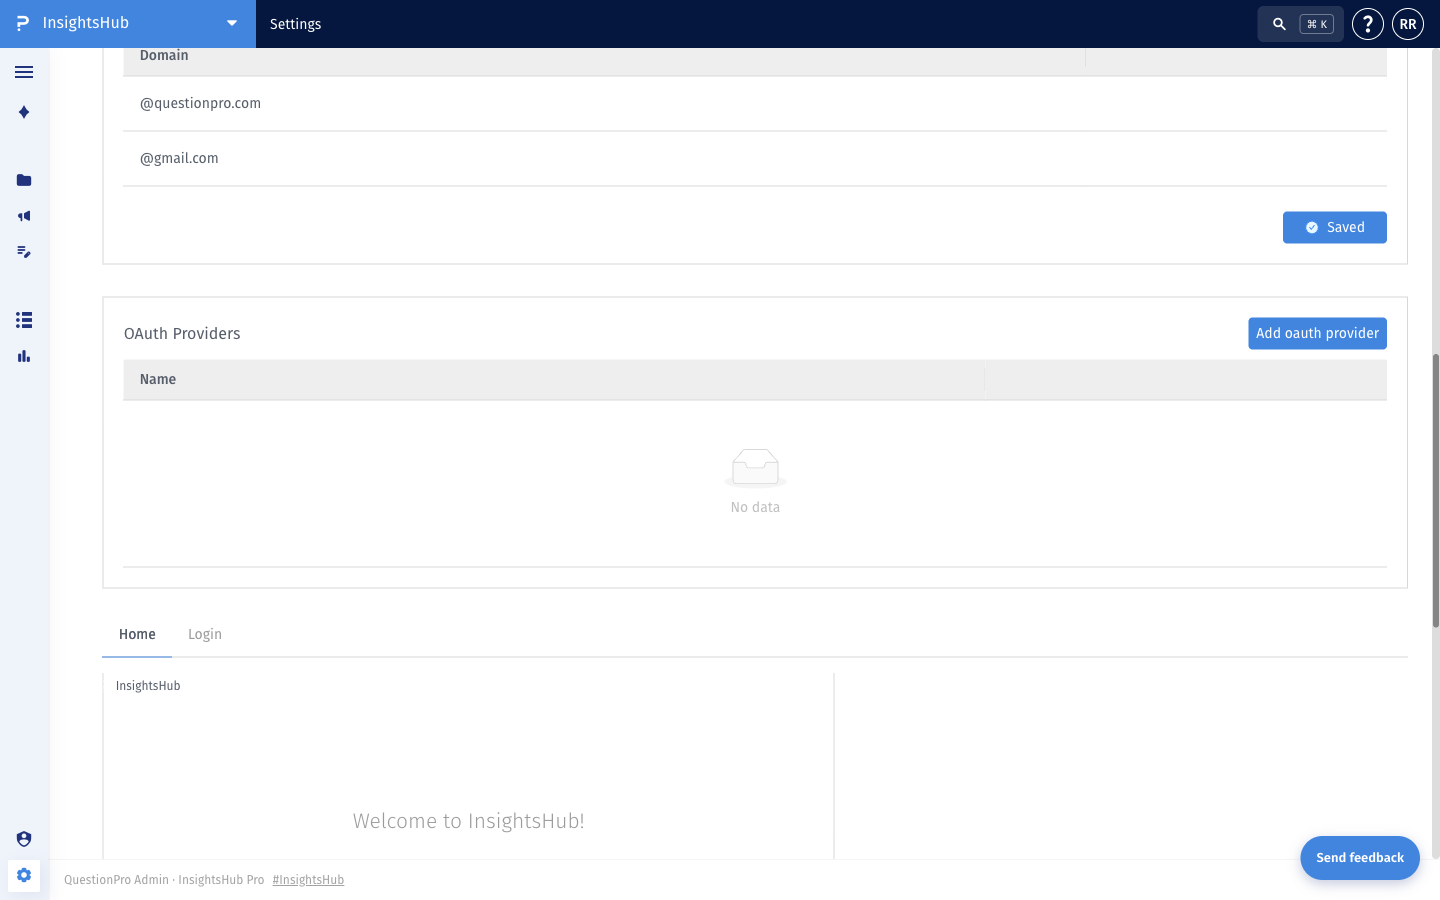
- In the OAuth Providers section on the Portal Setup page, click Add oauth provider.
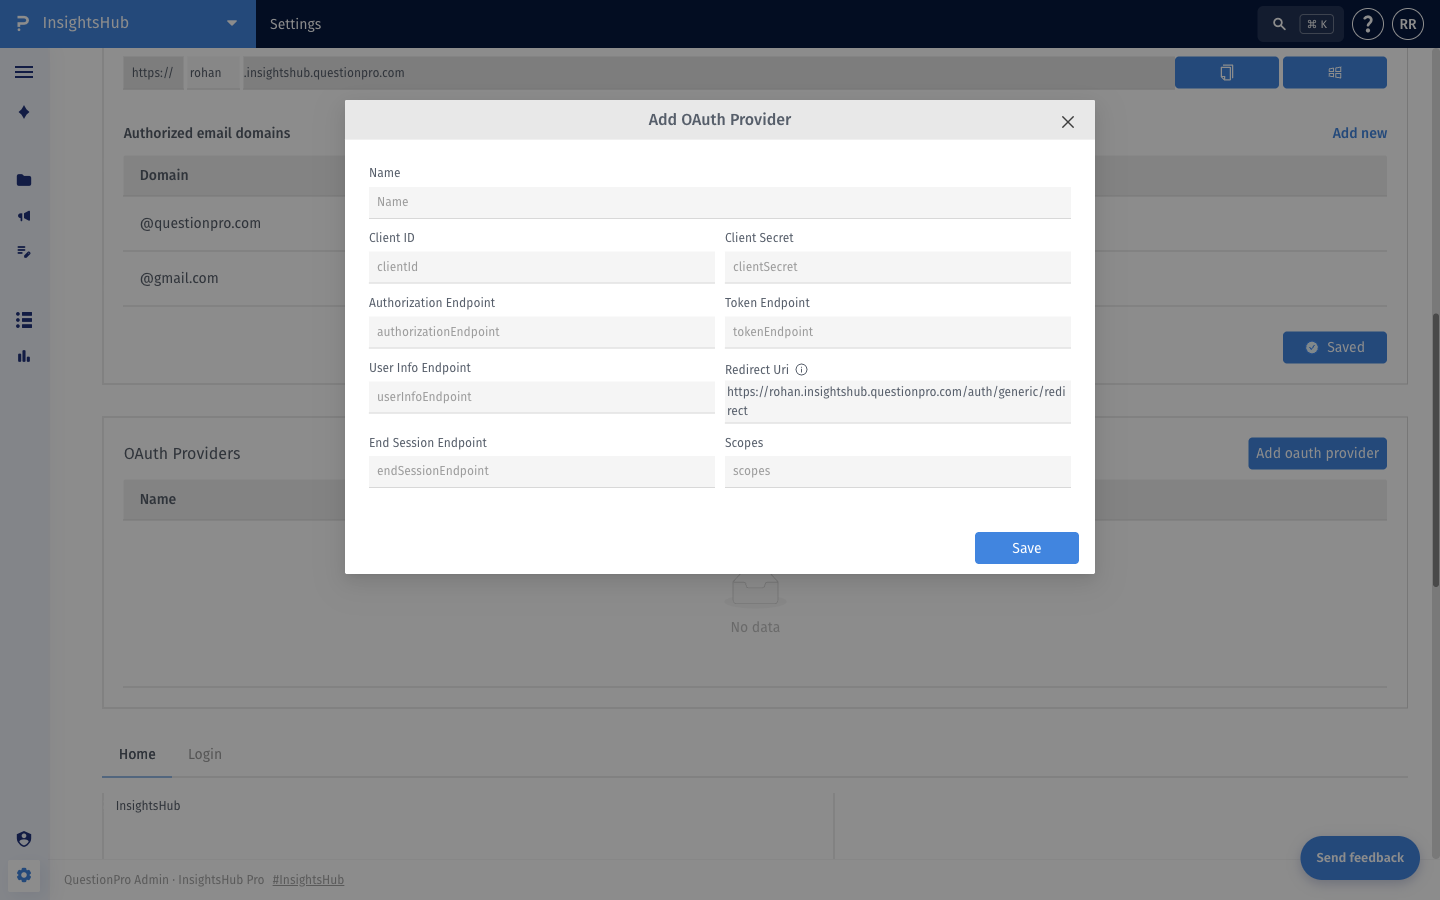
- Fill in the configuration details from your identity provider:
- Name — display name shown on the portal login button.
- Client ID — the OAuth client ID issued by your provider.
- Client Secret — the OAuth client secret issued by your provider.
- Authorization Endpoint — your provider's OAuth authorization URL.
- Token Endpoint — your provider's OAuth token URL.
- User Info Endpoint — your provider's user info URL.
- Redirect URI — pre-filled with your portal's redirect URL. Copy this value into your OAuth application configuration on your provider's side.
- End Session Endpoint — your provider's sign-out URL (optional).
- Scopes — space-separated OAuth scopes to request (for example, openid email profile).
- Click Save. The new provider will now appear as an additional Single Sign-On button on the portal login screen.
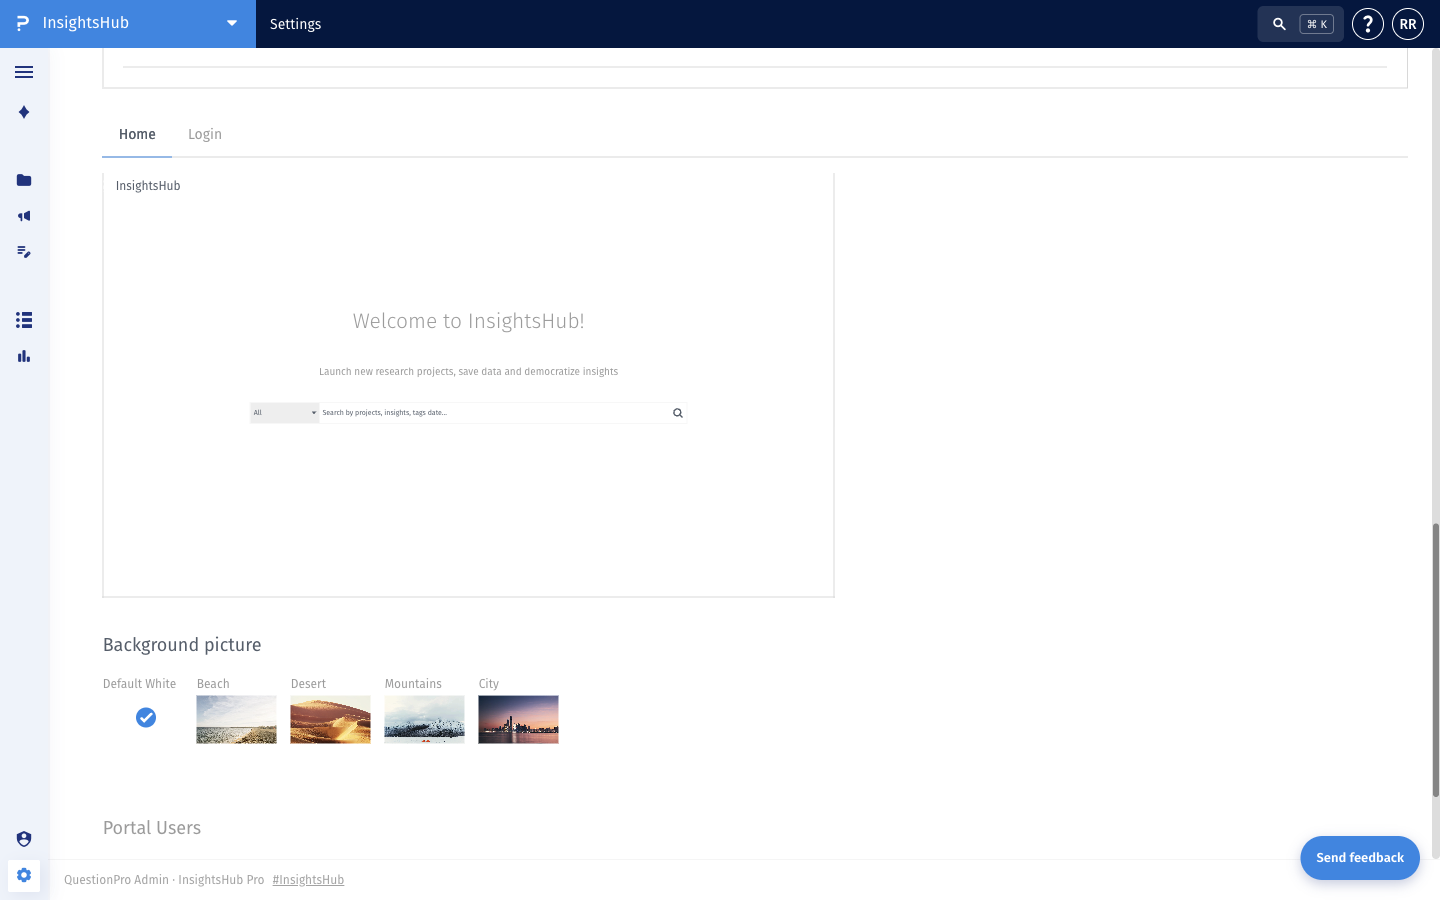
Under the Background picture section, choose from the available themes — Default White, Beach, Desert, Mountains, or City. The selected background is shown on the portal login and home screens. The live preview above the picker updates to reflect your selection.
The Portal Users table at the bottom of the Portal Setup page lists every user who has signed in to the portal, along with their email address and last login time.