

- Custom Variable Widget
- Priority Matrix
- Heatmap Widget
- Grid Widget
- Weighted mean widget
- Comment List widget
- Widget Filters
- Ranking List Widget
- Distribution Chart
- NPS Widget
- Trend Widget
- Word Cloud Widget
- Cross tab widget
- KPI Comparison Widget
- Bubble chart
- Custom Metric Trend Chart
- Trend Comparison Widget

Custom Themes for CX Dashboards – Branding and Personalization
The Custom Themes feature allows CX managers and marketing teams to personalize their dashboards using their company’s branding. Users can either upload a company logo or manually select brand colors to create a custom theme.
This promotes brand consistency, enhances stakeholder engagement, and ensures professional presentation across business units or clients.
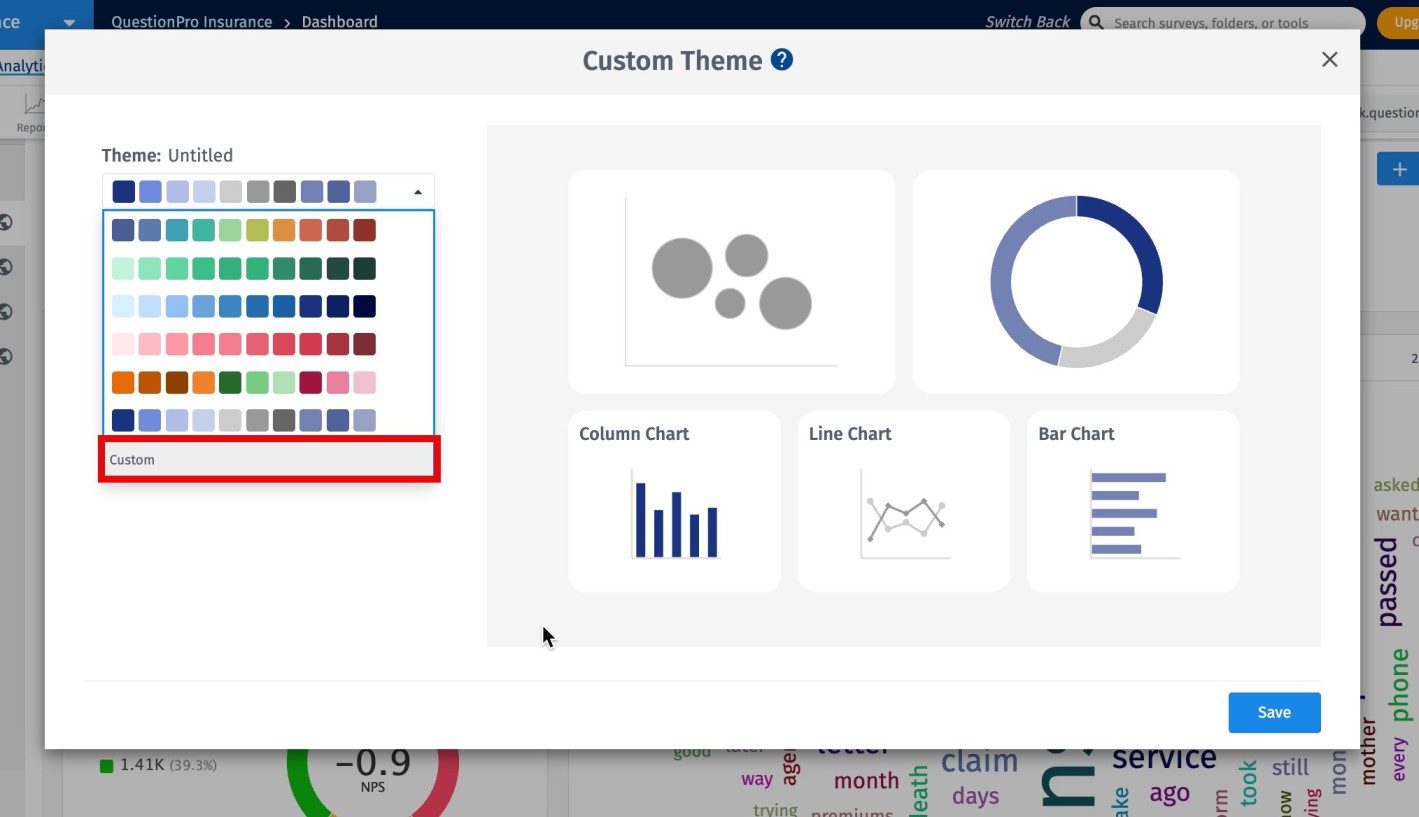
How to Create a Custom Theme?
You have two ways to create a custom theme:
-
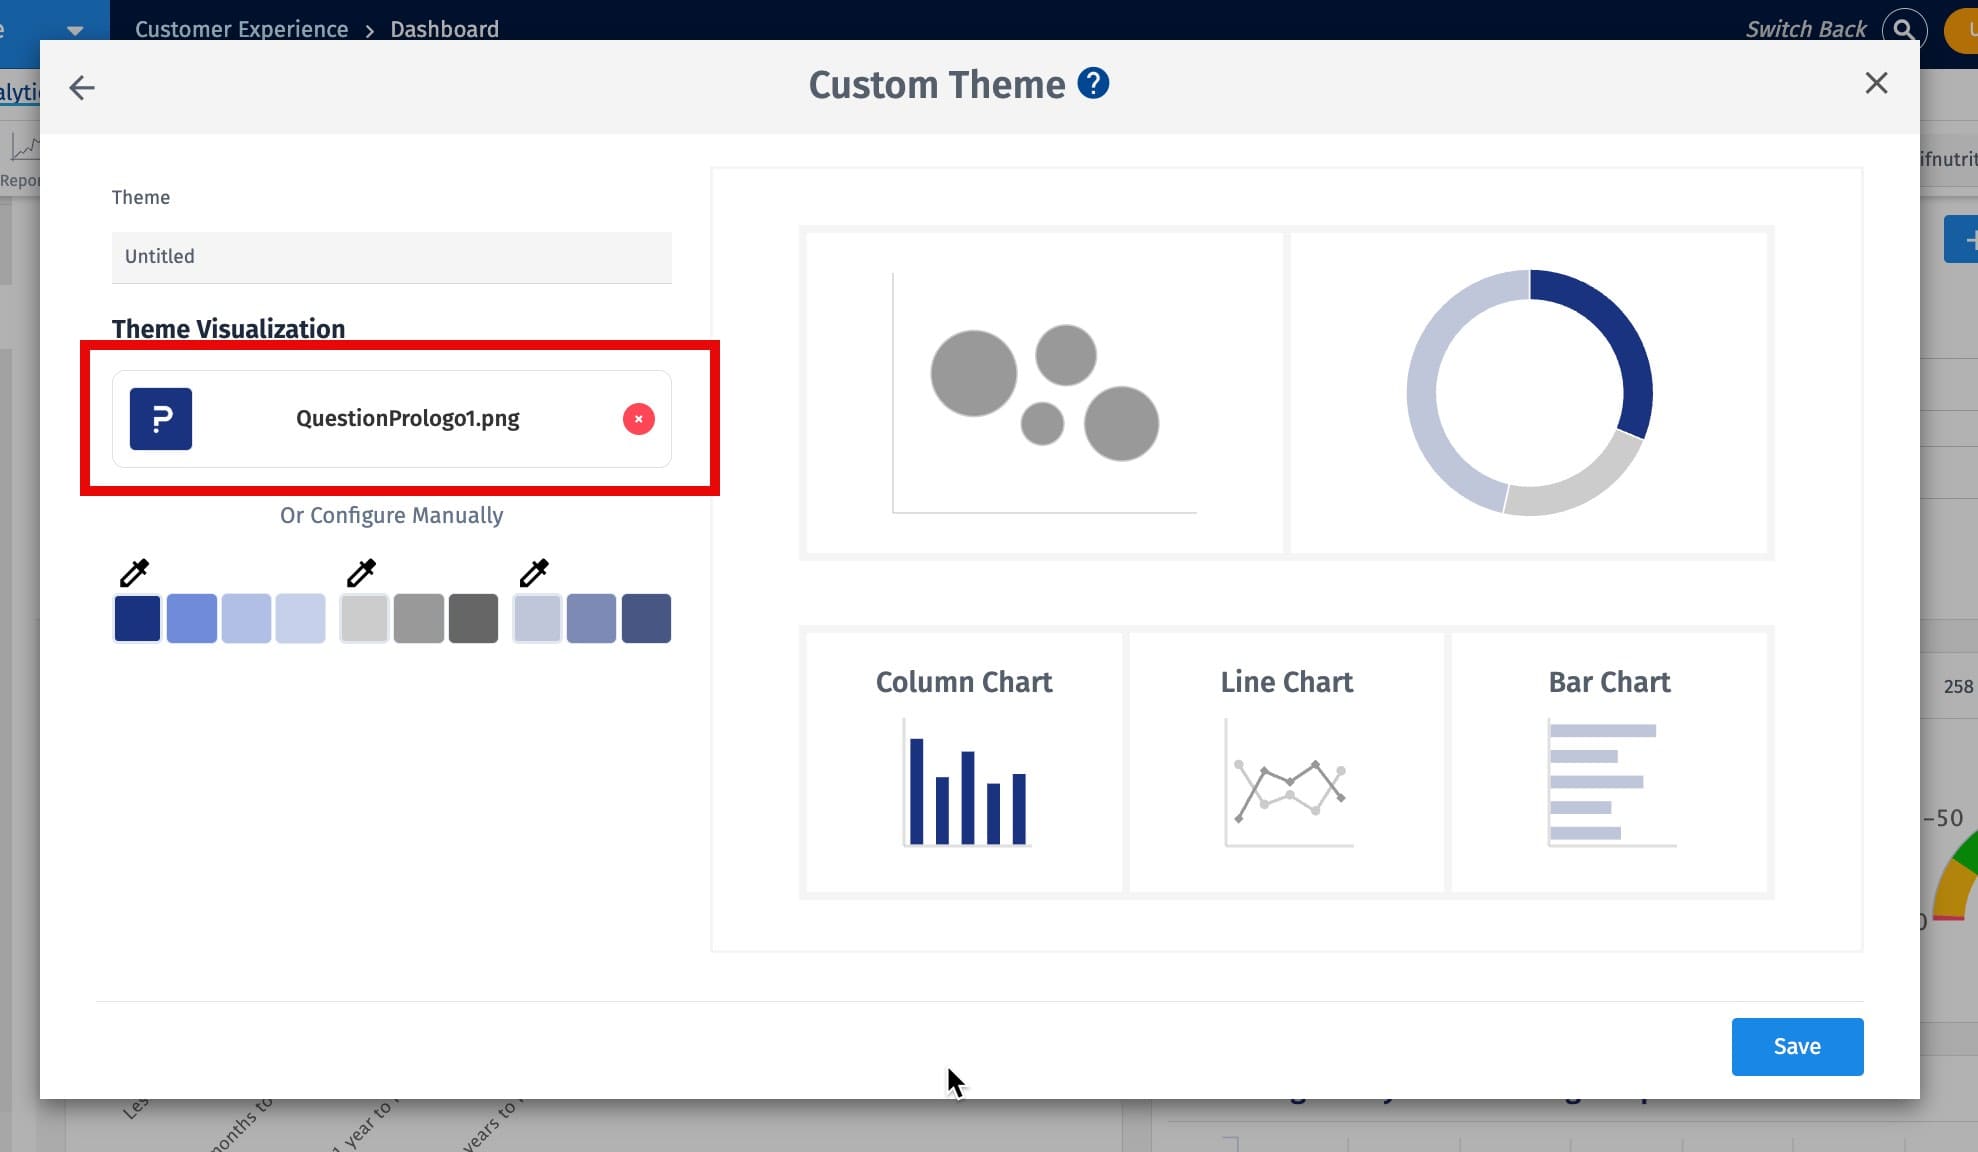
Option 1: Upload Logo
- Open your CX dashboard and go to the Themes option from the dropdown menu.
- Use the Custom option to create the theme.
- Select Upload Logo and choose the logo file from your local storage.
- The system automatically extracts up to 3 primary brand colors from the logo and generates matching shades.
- Preview the theme and click Save.

-
Option 2: Manual Color Selection
- Choose Custom Theme in the theme creation menu.
- Select 3 base colors that match your brand.
- The system will generate complementary shades and apply them to the preview.
- Click Save to add the theme to your saved list.
How to Manage and Apply Saved Themes?
- Saved themes appear in the Themes dropdown menu.
- Click the Settings icon next to a theme to edit its name or color scheme.
- Click on any saved theme to apply it to the active dashboard.
What Elements Are Not Affected by Custom Themes?
The following widgets retain their original palette and are not affected by custom themes:
- NPS
- CSAT
- AskWhy
This ensures that critical performance indicators remain visually consistent across all dashboards.